The complete guide
How To Choose A Hydraulic Robot Hand Kit
The problem with most "science" toys
Plenty of kits promise to teach something and then teach very little. You click five big plastic pieces together, a light flashes, and the whole thing is finished in eight minutes. A week later it is under the bed. The build was too easy to be satisfying and the finished object does not actually do anything.
A hydraulic robot hand kit sits at the other end of that scale. There are 203 parts. It takes about two and a half hours. And when it is done, you wear it, and it picks things up. That gap between effort and reward is the whole point. Kids remember the things that took them a while.
What hydraulics actually means here
Hydraulics is the use of liquid to move force from one place to another. Liquid does not compress much, so if you push on it in a sealed tube, that push travels straight along to the other end. Press here, something moves over there.
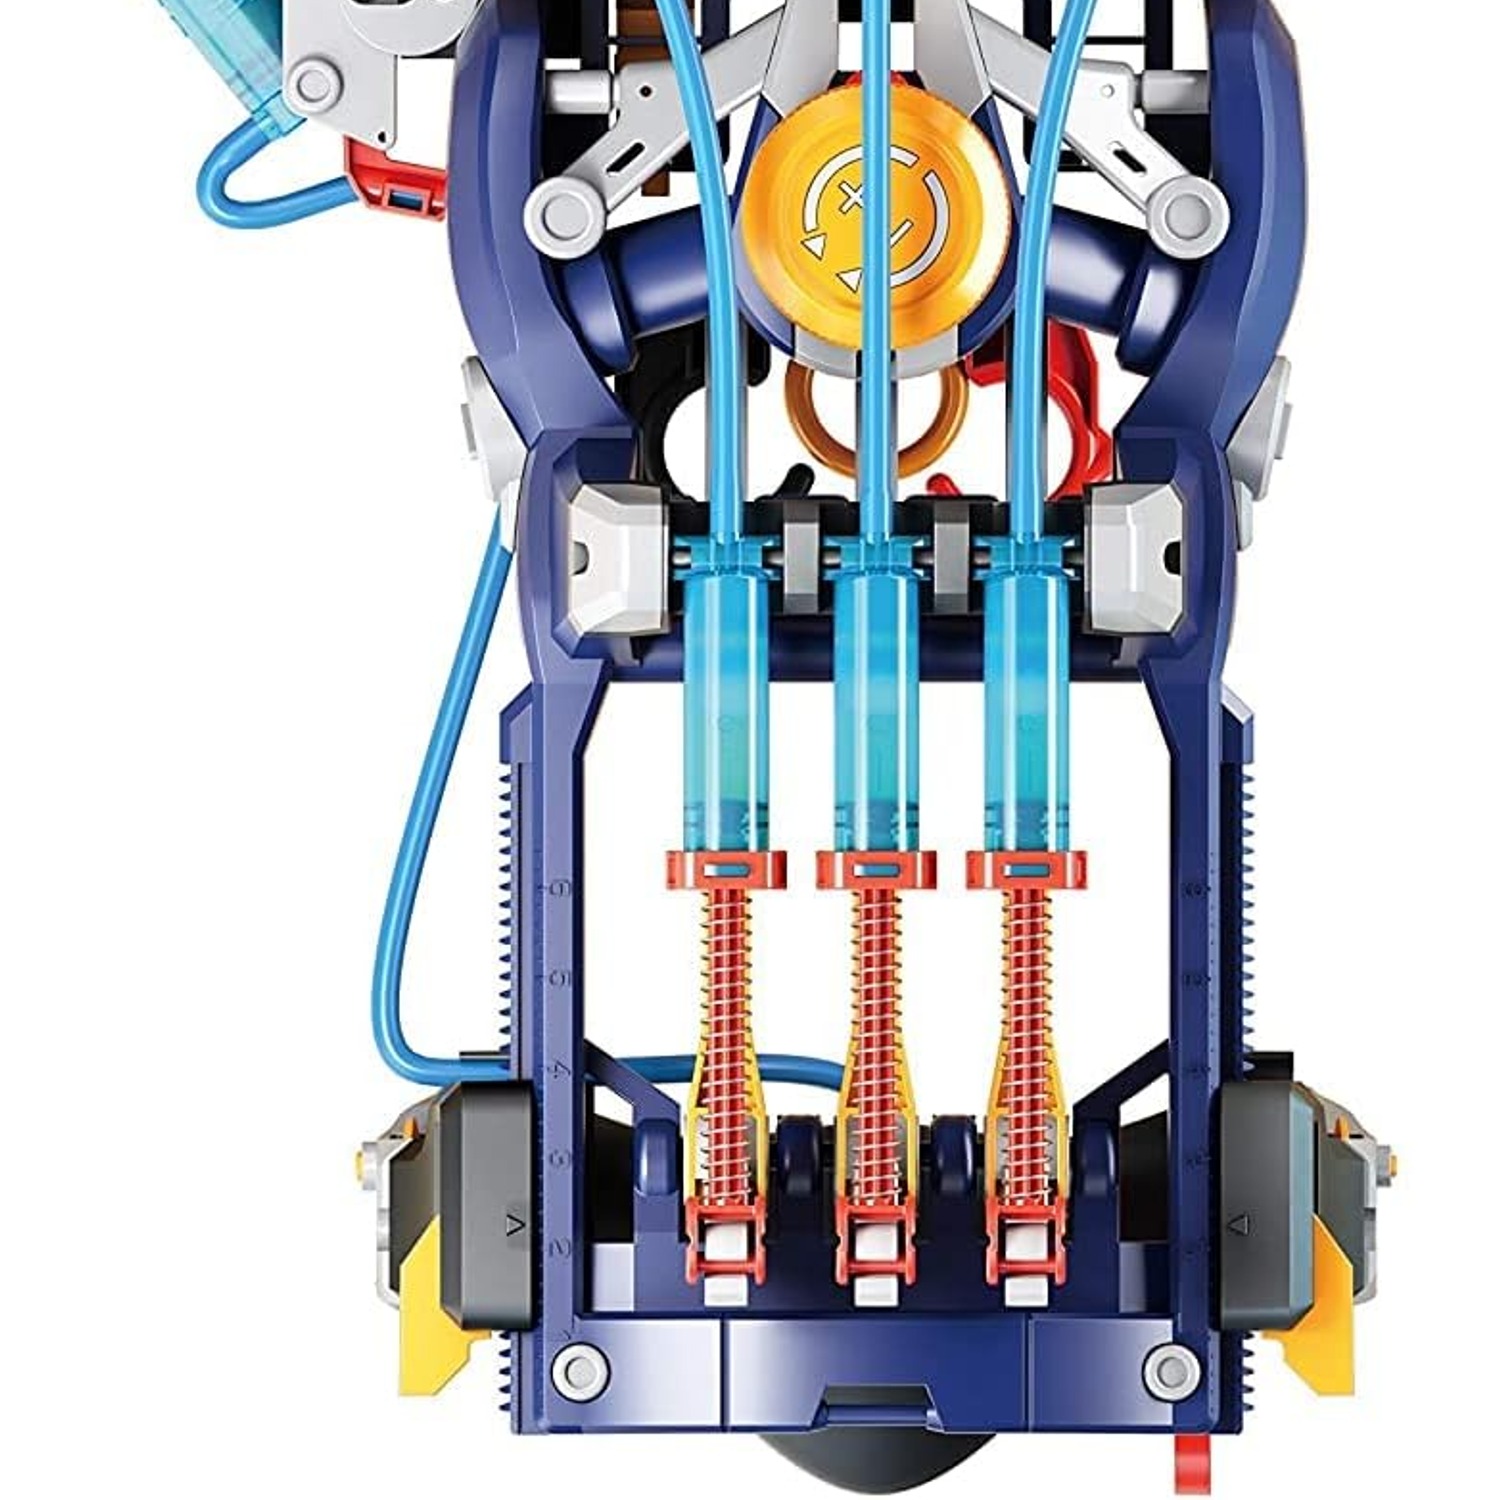
This kit builds that idea into a hand. Fluid-filled parts connect to the finger joints. When you pull or push on the control near your thumb, the pressure runs along and the mechanical fingers curl or open. No motor, no circuit board, no charging cable.
The reason that matters educationally is that the mechanism is visible. On an electronic toy, the interesting part is hidden inside a chip nobody can see. On a hydraulic engineering kit, your child can watch the fluid move and connect it to the finger bending. That is a much shorter path from "it works" to "I understand why it works."
It is also the same principle used in real machinery. Diggers, car brakes, hospital lifts and factory presses all run on it. Once a kid has built one, they start spotting hydraulic rams on construction sites. That is a genuinely useful bit of noticing.
Who this suits
The manufacturer recommends ages 9 and up. In practice, the right question is not age but temperament. A nine-year-old who already enjoys detailed construction sets will be fine. A seven-year-old with an adult sitting beside them handling the small screws will usually get there too. A child who throws things when a piece does not fit on the first go will need company for the build.
It is also worth saying that this is a single-player wearable. One person operates it at a time. If you have two kids who do not share well, factor that in. The build itself is a good shared activity, though. Two people sorting parts and following steps together works better than one person doing it alone while the other watches.
Adults get something out of it too. The frame adjusts for a wide range of palm widths and finger lengths, so a grown-up hand usually fits. More than one parent has built this "for their child" and then spent the evening picking up bottle caps with it.
How to decide if it is the right kit
A few things to weigh up.
Build time. Two and a half hours is the honest estimate. If you want something for a half-hour gap before dinner, this is not it. If you want a rainy day building project, it fits perfectly.
Patience level. 203 pieces means a lot of small parts and a sequence to follow. Builders who like that will love it. Builders who want instant results will struggle without help.
Whether the finished object gets used. This is the quiet advantage. Lots of construction kits produce a static model. This one produces something you strap on and carry around, which means it gets more hours of use than a shelf piece.
No batteries. Worth more than it sounds. Nothing runs flat. Nothing needs the right size cell at nine on a Sunday night. Pick it up in six months and it still works exactly the same.
Space. The pack is 41 x 30 x 11 cm and the kit weighs 0.98 kg. You need a clear table for the build and somewhere dry to store the finished hand. Neither is demanding.
Getting the build right
Clear a flat surface with good light before you start. Sort the parts into groups first. It feels like a delay but it saves far more time than it costs, because hunting for one specific screw in a pile of two hundred pieces is where builds fall apart.
Keep a towel and a cloth nearby. Filling the hydraulic parts involves water, and some of it will end up on the table. That is normal, not a sign something has gone wrong.
Test as you go. When a section of the hydraulics is connected, work it a few times before moving on. Finding a loose connection early is much easier than discovering it after everything else is screwed down around it.
Do not overtighten. Plastic threads strip, and a stripped thread is a real nuisance. Snug is enough.
If you need to stop halfway, that is fine. Put the loose parts in a bowl or a sealed bag so nothing wanders off, and pick it up the next day.
Setting it up for the wearer
Once the hand is built, spend a few minutes on the fit. The thumb switch can be configured for left or right-handed operation, so set it for whoever is going to use it most. Adjust the frame to the wearer's palm width and finger length. A hand that is too loose will slip and feel unresponsive, and the user will blame the kit rather than the fit.
Each finger joint can be set to a different angle. This is where the experimenting starts. A set of angles that grips a drink bottle will not be the same set that picks up a screw. Working out which configuration suits which object is the part kids keep coming back to, and it teaches grip geometry without anyone using those words.
Looking after it
Care is simple. Wipe the plastic with a dry or slightly damp cloth. Keep it out of the dishwasher and the washing machine. Store it away from heaters and direct sunlight, because sustained heat warps plastic and a warped joint will never move smoothly again.
Keep the spares and any leftover fasteners in a labelled bag with the hand. If the kit ever gets taken apart for a rebuild, having those parts together makes the second build far less stressful than the first.
Indoor use only. Sand and grit get into moving joints and stay there.
Using it as a learning tool
If you are buying this for a school or homeschool setting, there is more in it than the build. A few directions worth taking:
Ask the builder to explain the mechanism to someone else before they demonstrate it. Explaining is where understanding gets tested.
Set grip challenges with objects of different shape, weight and surface. A ball, a bottle, a pencil, a coin. Record which joint settings worked for each. That is a real experiment with a real result.
Connect it outward. Point out hydraulic rams on a digger next time you pass roadworks. The link between the thing on their arm and the machine in the street is the bit that sticks.
The short version
You get a 203-piece hydraulic engineering kit that builds into a wearable four-fingered mechanical hand in about two and a half hours. It runs on fluid pressure from your own fingertips, so there are no batteries and nothing to charge. Every finger joint adjusts, the frame fits left or right-handed users across a range of hand sizes, and the finished model is for indoor use by one wearer at a time.
Recommended from age 9. It weighs 0.98 kg boxed at 41 x 30 x 11 cm, and it is made of plastic. If you want a build that takes real effort and leaves behind something that actually gets worn and used, this is a good one.